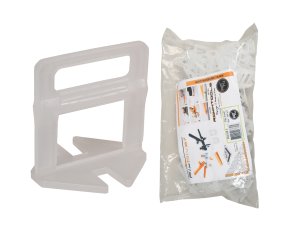
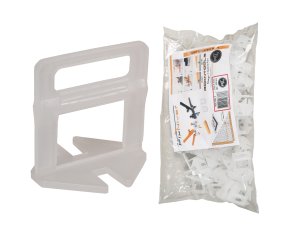
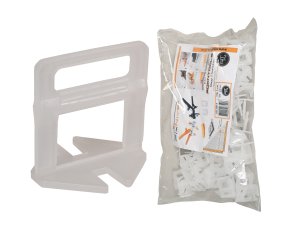
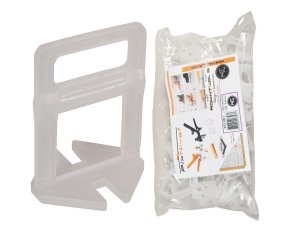
Bag of 1.5 mm Fixnivel® self-leveling spacer clips for tiles 3 to 13 mm thick.
Choice of packaging: 100 pcs or 250 pcs.
Fixnivel® clips are made of 1st choice plastic (hence the unique transparent color), which guarantees uniform breakage resistance, whatever the width of the clip and the temperature of use.
The installation of tiles in the rules of the art requires a perfect level between the tiles. Often, due to substrates that are not perfectly flat, thin tiles or large format tiles (very heavy) are difficult to place correctly.
Tiles that appear perfectly flat during laying may show level differences when setting in the adhesive.
Thanks to the Fixnivel® spacers, which ensure perfect support and leveling between the tiles and also speed up installation, your tiles will have perfect flatness.
With Fixnivel® self-leveling spacers, laying is quick and easy, the tiles remain perfectly held together and there is no risk of them moving while the adhesive dries.
If you want to make larger joints in width, you can combine the use of Fixnivel® with “classic” spacers. This will allow a good proportion of the width of your joints while benefiting from the perfect leveling of Fixnivel®.
Also available for 13 to 23 mm thick tiles in 2 mm width.
Position the Fixnivel® self-leveling spacers:
1. After spreading the adhesive, insert the supports under the tiles.
2. Depending on the format of the tile, position one or more supports for each side of the tile.
3. Position the tile and tap it with a mallet so that the glue adheres.
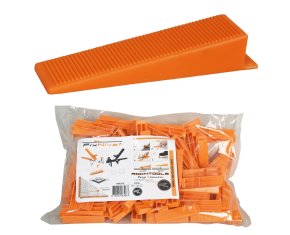
4. Insert wedge into slot in bracket.
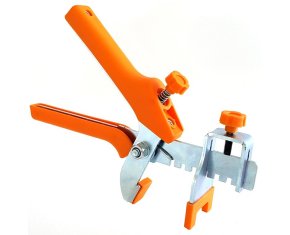
5. Finalize the insertion of the wedge using the adjustable pressure pliers.
To adjust the clamp, tighten the first corner, taking care not to exceed the breaking point. Adjust the stop screws on the clamp. You can now tighten all the corners with the same pressure, by tightening your pliers to the stop.
Remove the bases?
When the glue is dry, the upper part separates from the base by giving a blow, in the direction of the line of the joint, with a mallet or with the foot.
The corners will be recovered to be used during another tiling.
Advantages and characteristics of the Fixnivel® leveling system:
• Can be used for tiling both on the wall and on the floor.
• Easy and quick: You remove the clip by giving it a simple kick.
• Allows perfect flatness when laying tiles, slabs, earthenware, etc. from 3 to 23 mm thick.
• Compatible with other wedge leveling systems.