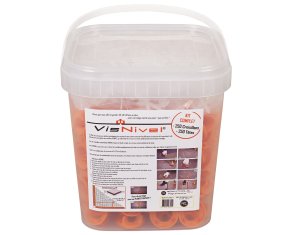
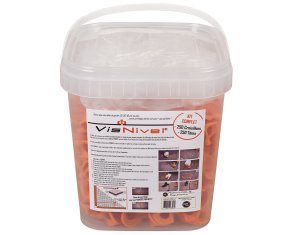
Complete Visnivel® set of self-leveling screw spacers, 250 pieces.
This complete kit is delivered in a bucket, it includes:
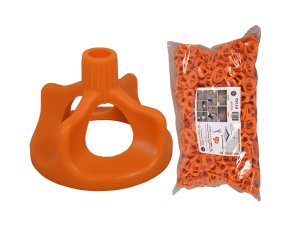
- 250 self-leveling wedges 2 mm (other sizes available).
- 250 reusable screw-in heads.
A complete ready-to-use Visnivel® set: it allows you to make tile joints with a width of 2 mm while leveling your tiles effortlessly. They are designed for tiles with a thickness of 3 to 23 mm.
Visnivel® cleats are made of 1st choice plastic (hence the unique transparent color), which guarantees uniform resistance to breakage, whatever the width of the cleat and the temperature of use.
With the range of self-leveling spacers Visnivel®, lay your tiles effortlessly, with precision, all with an inexpensive solution that is accessible to everyone.
Control the spacing between each tile with joints at the desired width and avoid level differences with their self-leveling action.
This solution is a real help for laying your tiles. On some sites, tiles that appear perfectly flat during the laying phase may show level differences when the adhesive sets. This can be explained by supports that are not perfectly flat, thin tiles or large format tiles that are difficult to position due to their weight.
Visnivel® screw spacers are used indoors: floor-standing (living room, kitchen, etc.), or wall-mounting (bathroom tiles, shower, kitchen splashback).
They can also be used outdoors: installing your terrace, paths, or even pool coping.
How to proceed :
1) After applying and extending the glue, take the screw spacers that you will position under the tiles.
2) Depending on the format of your tiling tile, place one or more supports for each side of the tile.
3) Position the tile and tap it with a tiler's mallet.
4) Screw the threaded crown (screw head) until it comes into contact with the tiles.
5) Finalize tightening the screw head to achieve perfect alignment of the tiling tiles. Once they are aligned, do not tighten further at the risk of breaking the threaded rod. Repeat the operation on the following tiles.
6) Wait about 24 hours for the glue to dry properly (duration varies according to the model and brand of your glue, the recommendations are indicated by the manufacturers on the packaging).
7) Once the glue has dried, strike the screw head in the direction of the joint, never in the opposite direction (essential for effective breakage of the upper part of the wedge). To do this, use your foot or use a mallet. Break them all and collect the dials by unscrewing them. They will thus be reusable for a future tiling project.
The laying of your tiles is now complete, your joints are at the desired width and your floor is perfectly leveled.